How to Flip a Keepsake Trunk
This project was an especially important flip as it was for our very loved, older sister. We chose the colors and details based on their wedding theme. She is more of an ivory bride with lots of greenery so that is where it all stemmed from. Stay tuned for an official reveal whilst being used on the BIG day!
Supplies:
Hand sander and sandpaper
Angled sanding sponge
Spray paint
Interior paint that is compatible with the material
Wood conditioner
Ribbon and lace, we sourced ours from a local thrift store
Buttons or small items to cover tacks -also thrifted ;)
This is what we were working with in the beginning :)
Step-by-step:
Before beginning anything, we gave this trunk a deep cleaning. We did our best to remove the wall paper type material on the interior prior to sanding. We used some rags and a degreasing and deglossing product on the exterior of the trunk to ensure it was clean.
Next in prep work, we used our hand sander throughout the interior and got in the nooks and corners with an angled sanding sponge.
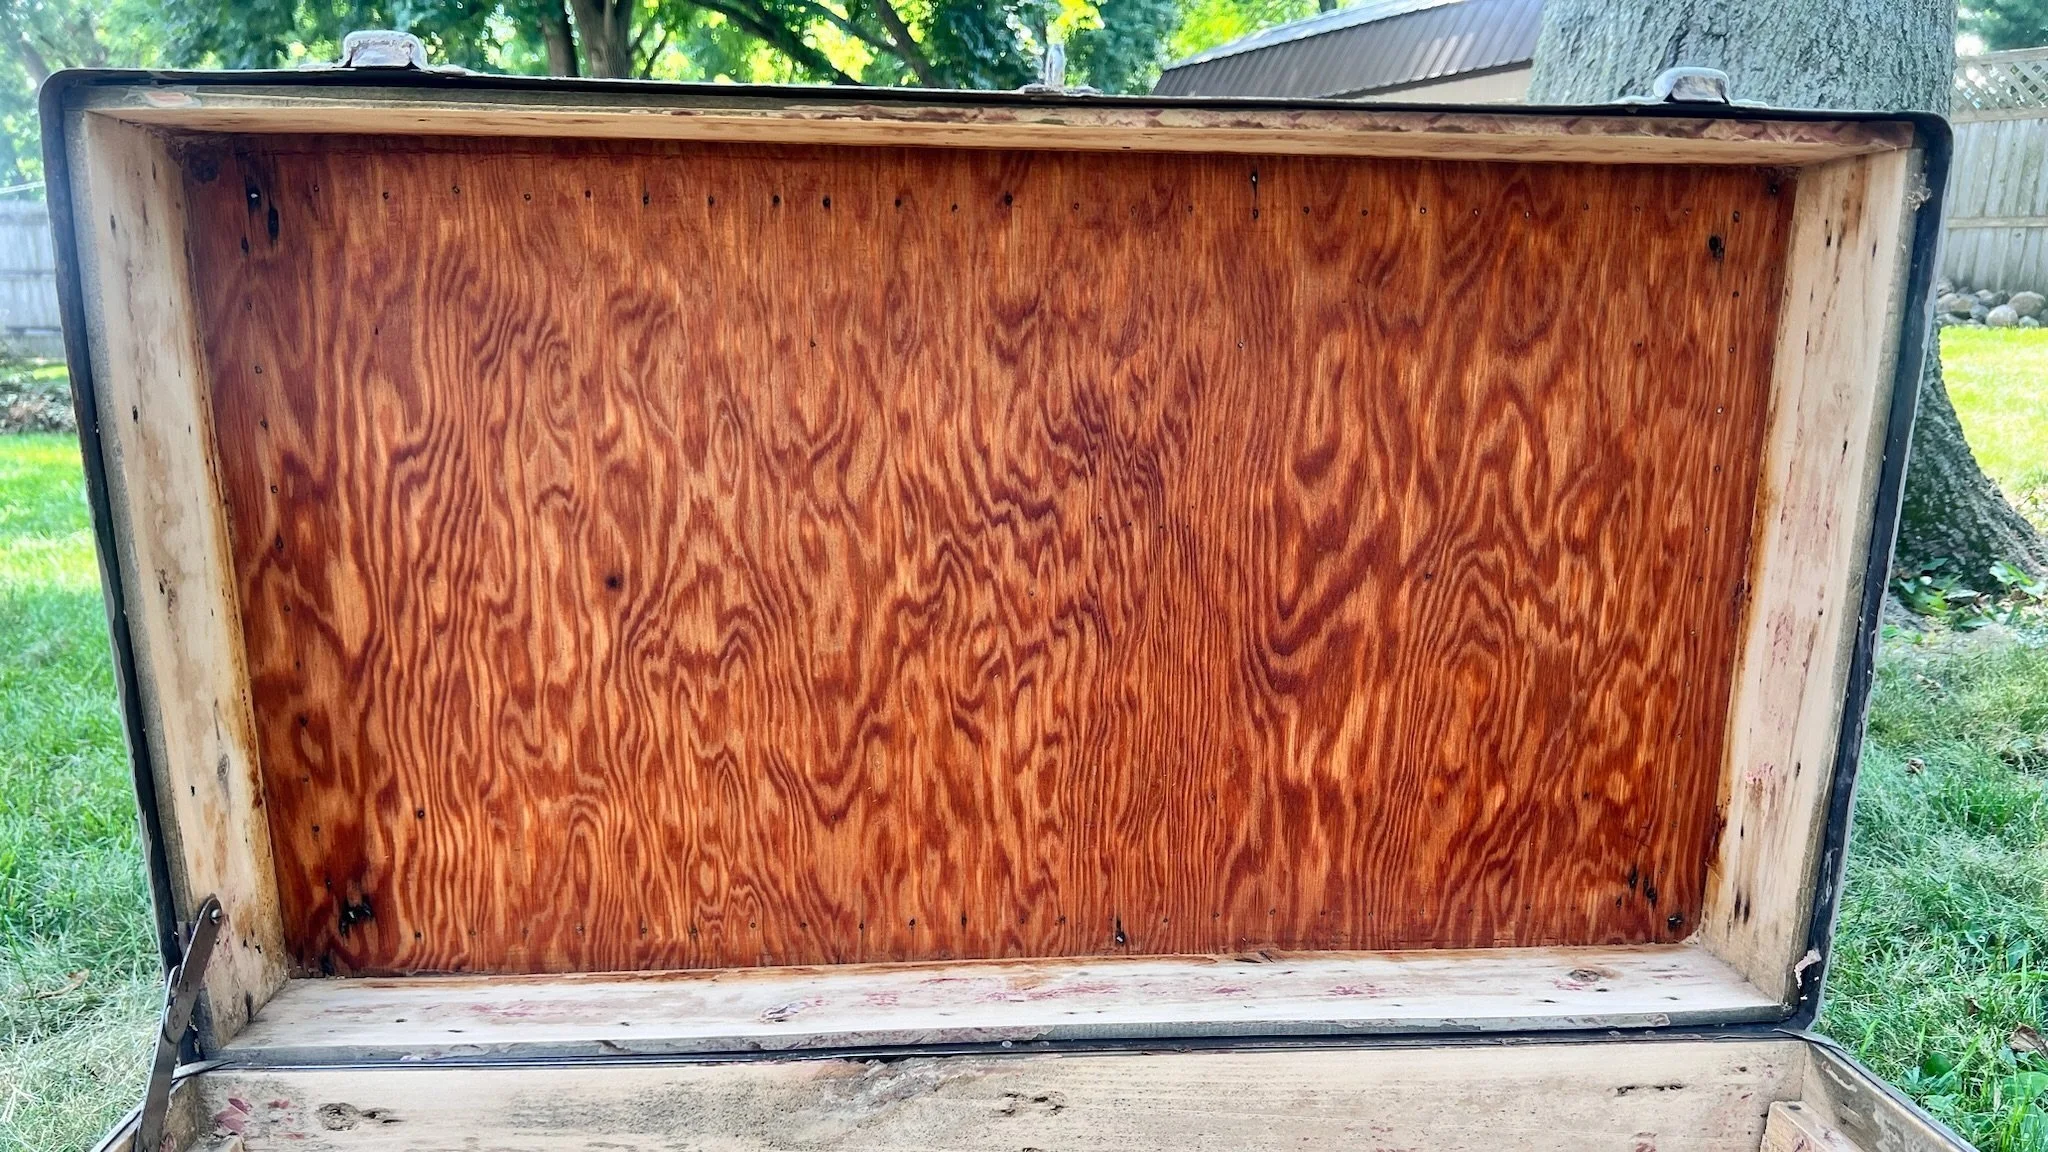
After sanding the interior, we were able to see the amount of wood that was discolored or damaged over time but still had plans to preserve what we could of it. We decided on conditioning the top of it to make a great background for the memory board. You can also follow up with a stain at this point.
To make this bridal keepsake trunk super personable for our sister, we went with a warm ivory white for the outside. The color we used exactly was in the Rustoleum satin spray paint line in the shade “Heirloom White” which we thought was fitting as this is a keepsake trunk. We taped off the hinges and other areas we wanted to protect and save for hand painting. We made sure to keep our layers of spray paint thin and even to ensure no drips and that we had even coverage.
Tip: Plan time for multiple coats of paint, especially if your main color is light.
Once the paint settled we went in with a Rustoleom finishing sealant to
With her wedding theme being very eucalyptus and greenery focused, we chose a deep green paint for the interior with an ultra matte finish. We decided to also add a touch of green to the exterior latches on the trunk.
For a personal touch we hand painted the first initial of our sister and her husband. We added some beautifully simple details to compliment.
After both previous steps we made sure to also give a coat of sealant to the interior for longevity.
Now to put the thrifted ribbon and lace to use! We thought this was an excellent way to store small momentums such as her wedding invite, special notes, and their favorite photos. We started with measuring the lengths of ribbon needed and then placed the inner rows of ribbon evenly, laying lace under some and then weaved them over each other. After having them in place we used flatter tacks and hammered them in to keep the ribbon in place securely.
Following the inner rows of ribbon being laid we went around the edges with lace and then ribbon on top and secured it in the corners with the tacks as well.
We didn’t want to leave the pretty ribbon with just plain tacks so we thrifted some buttons which were also a personable touch and hand picked for meaningful reasons. We prepped some of the buttons with paint to help them match and kept others with their original finish. We secured these buttons in place by using glue hot glue.
Tip: Don’t go overboard on the glue, it can make a project messy.
Once it was all done we added a bow and kept it hidden out of her sight until her bridal shower! We will have a later post revealing her putting it to use on her wedding day!


