Baby Keepsakes Trunk
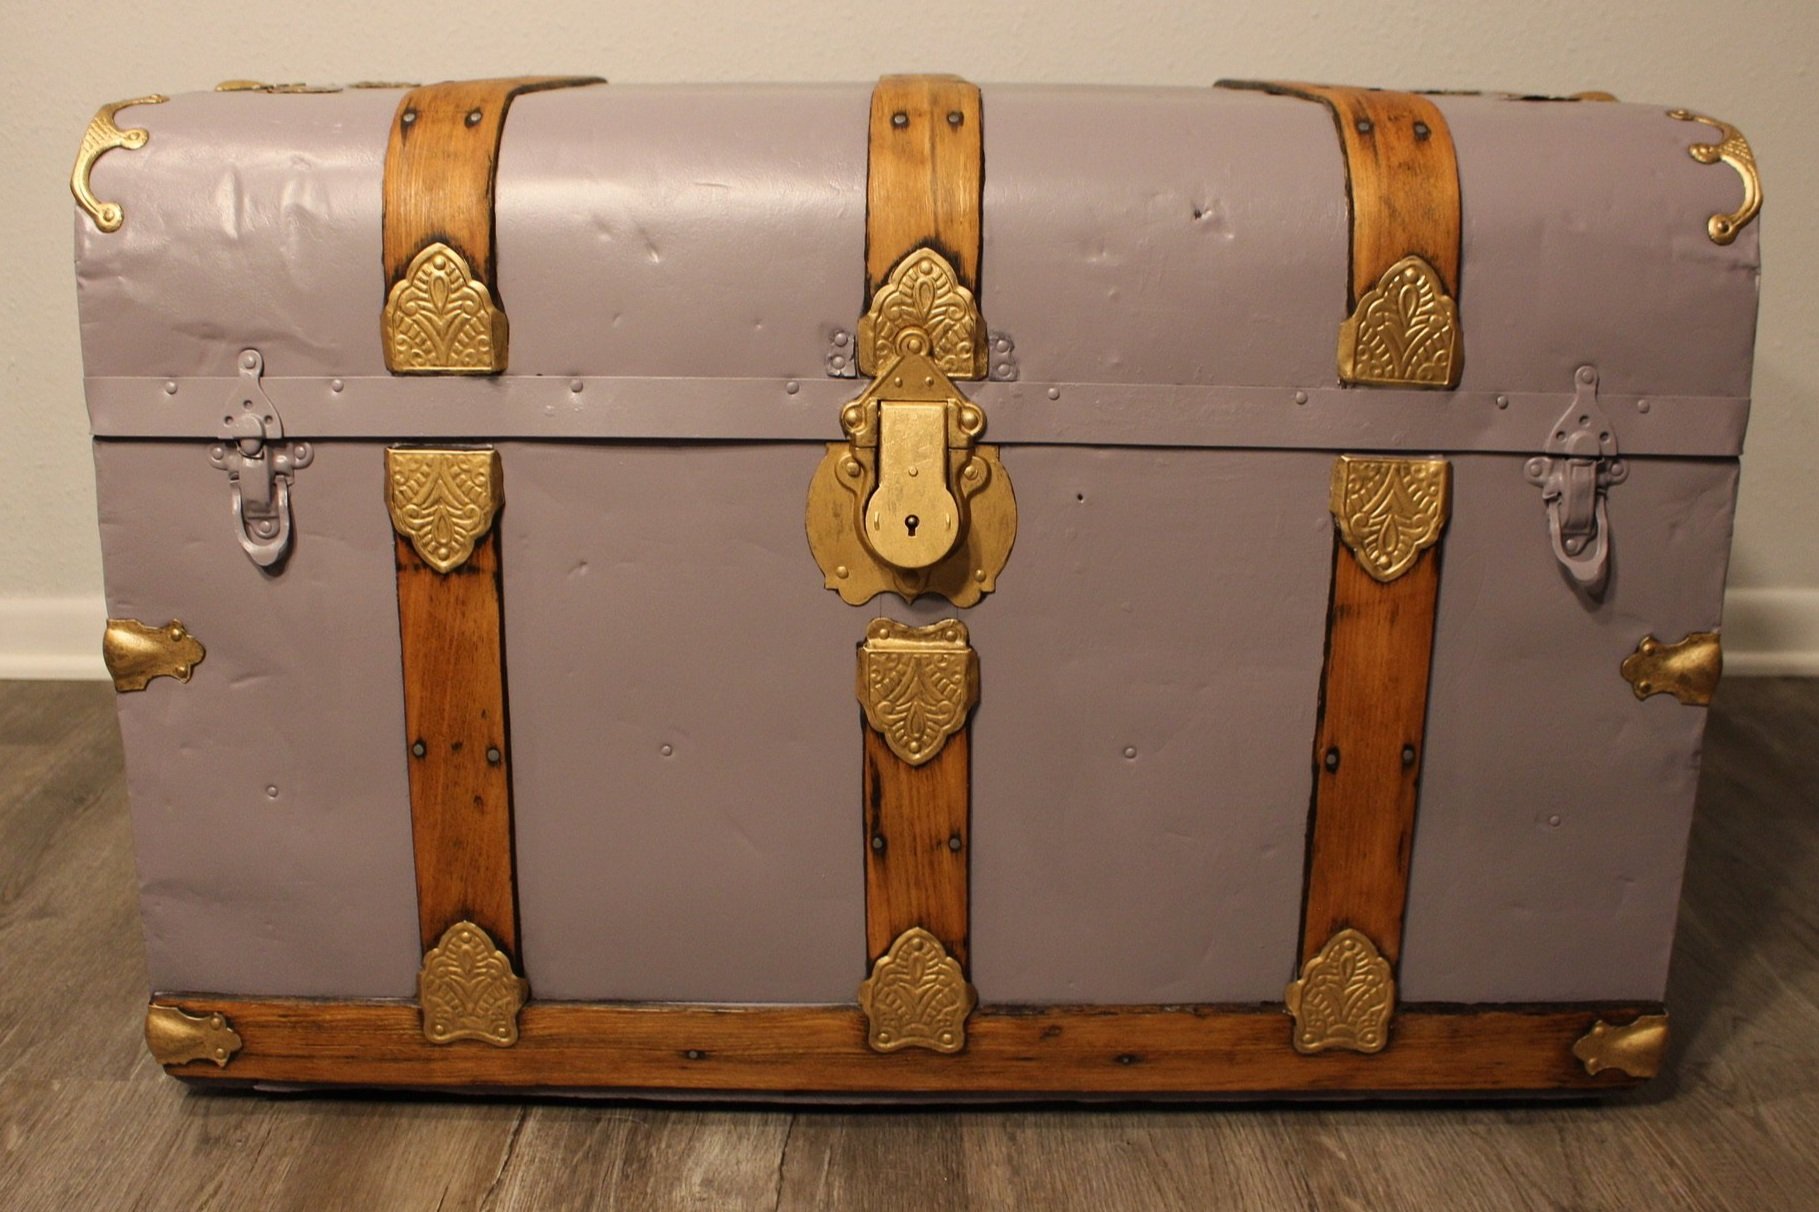
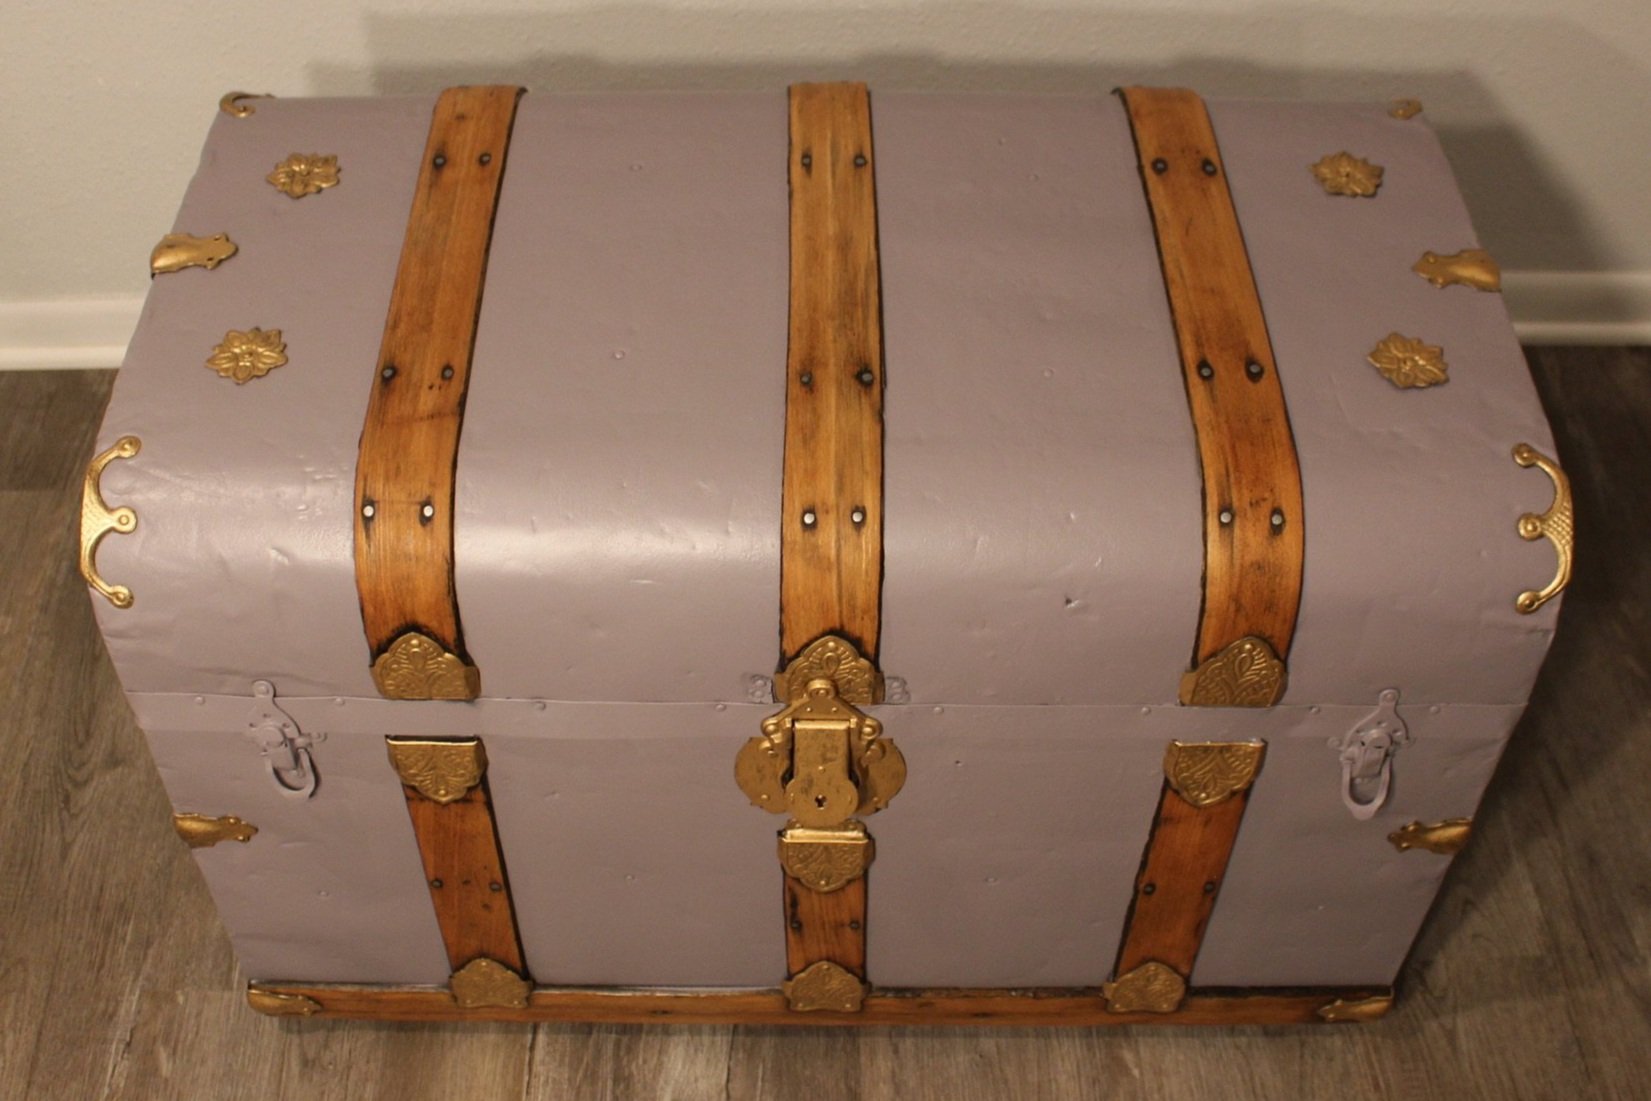
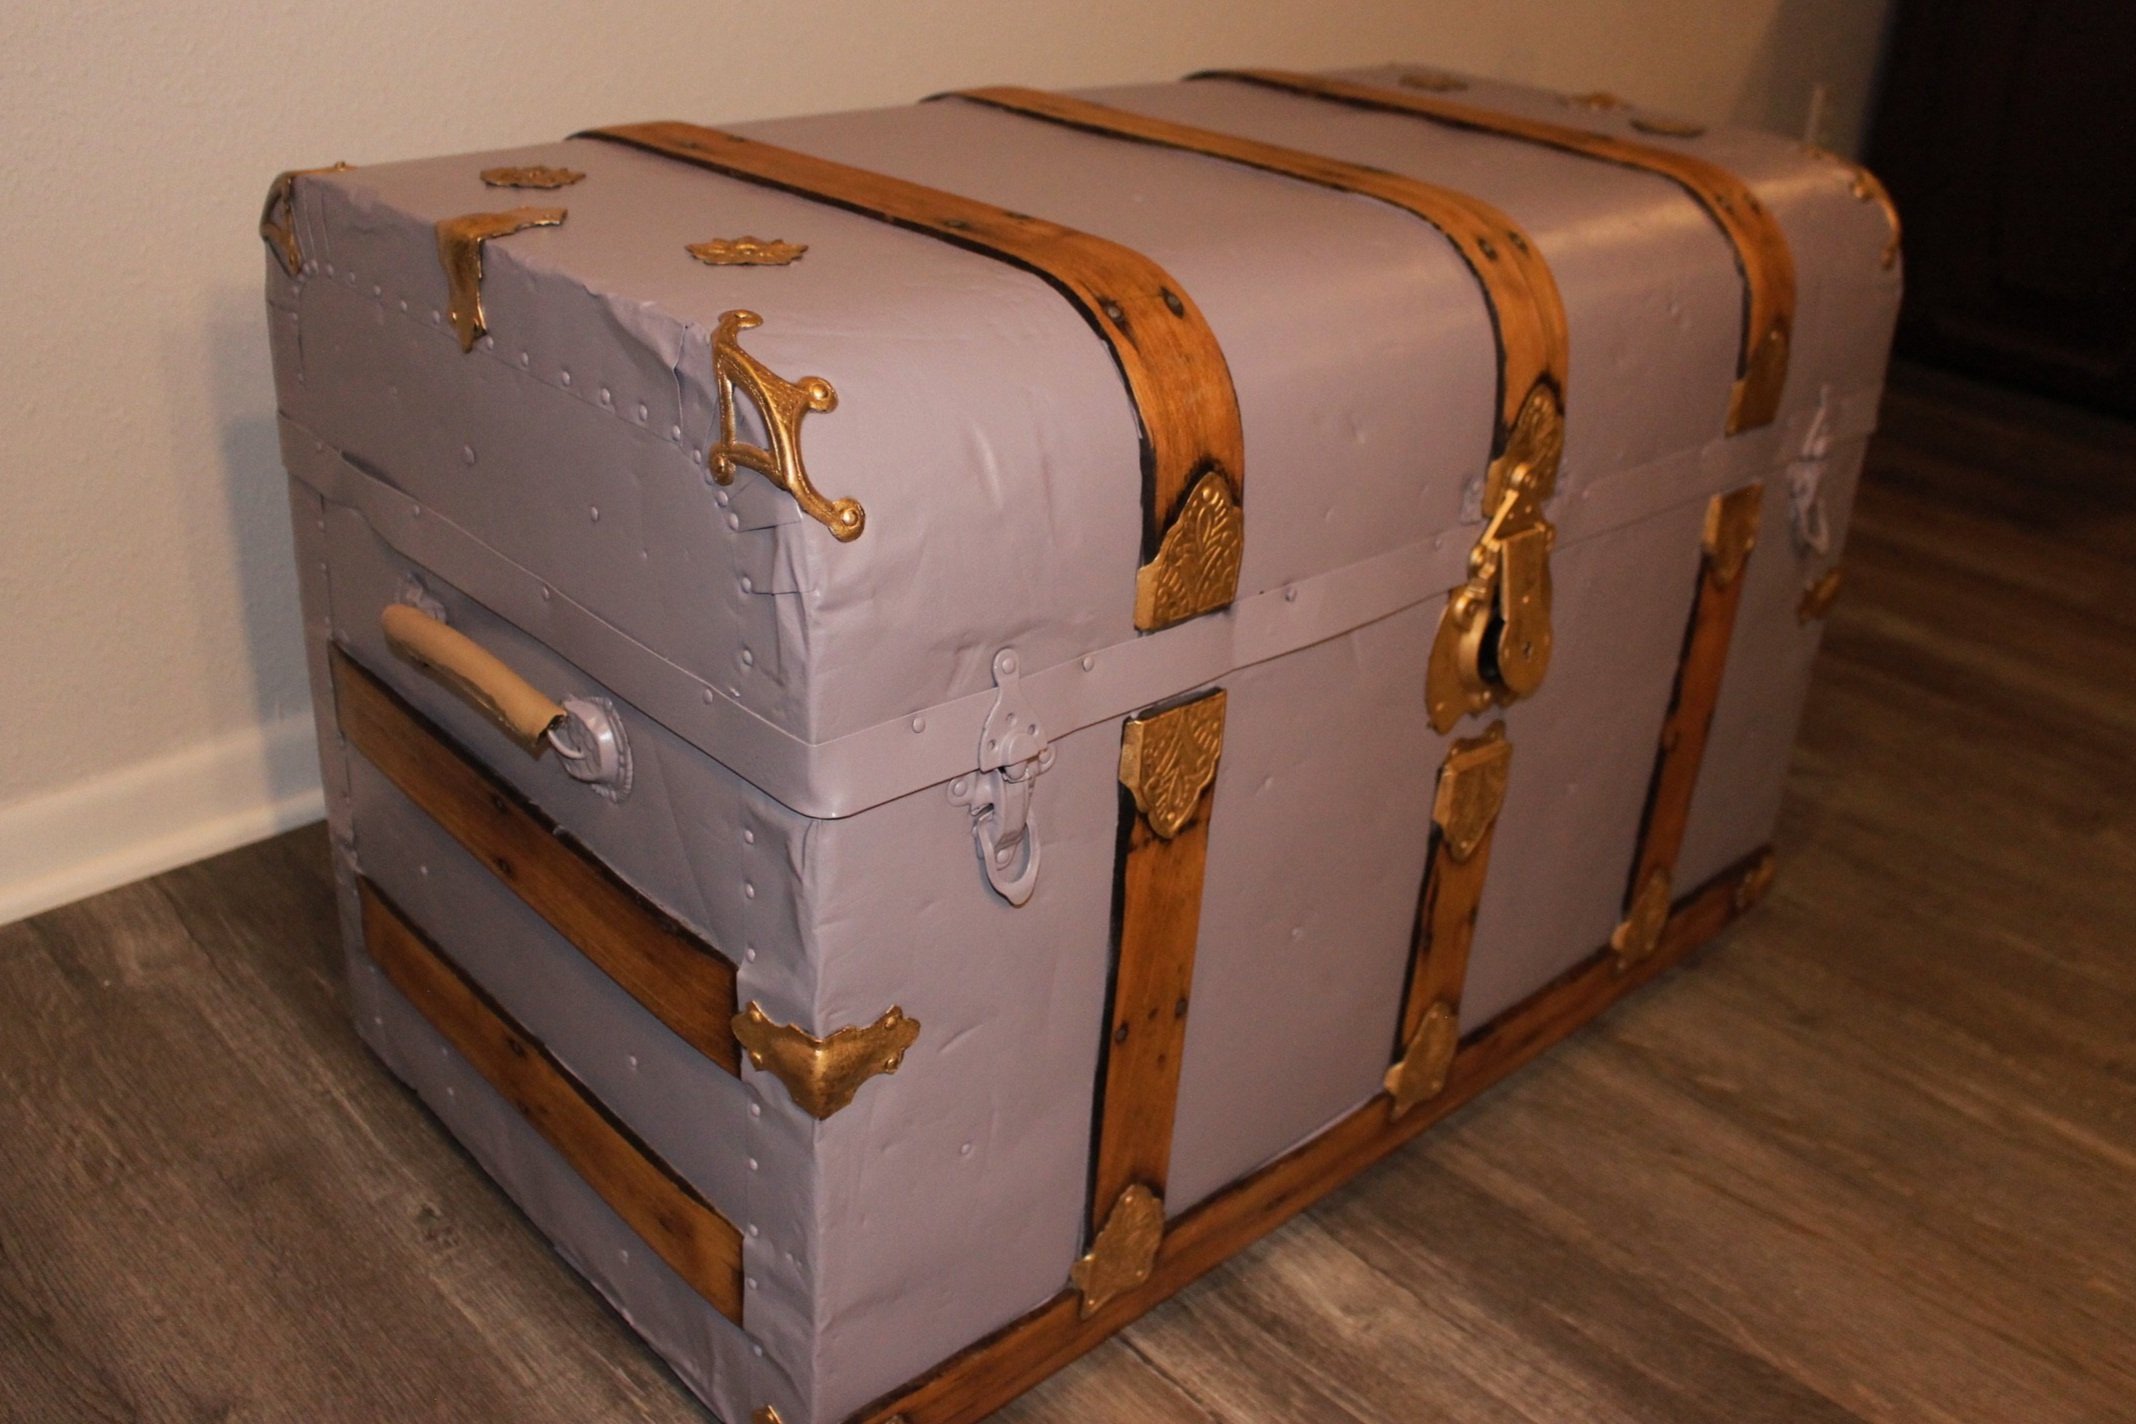
This keepsakes trunk will be used to store and preserve all the precious items, outfits, baby books, blankets, and favorite toys. The look for this chest was intended to be simple yet girly with the specific light mauve as the main color. The plan throughout was to restore as much of the wood and metal detailing as possible with this piece. Check out our Pinterest to see videos of this project being completed!

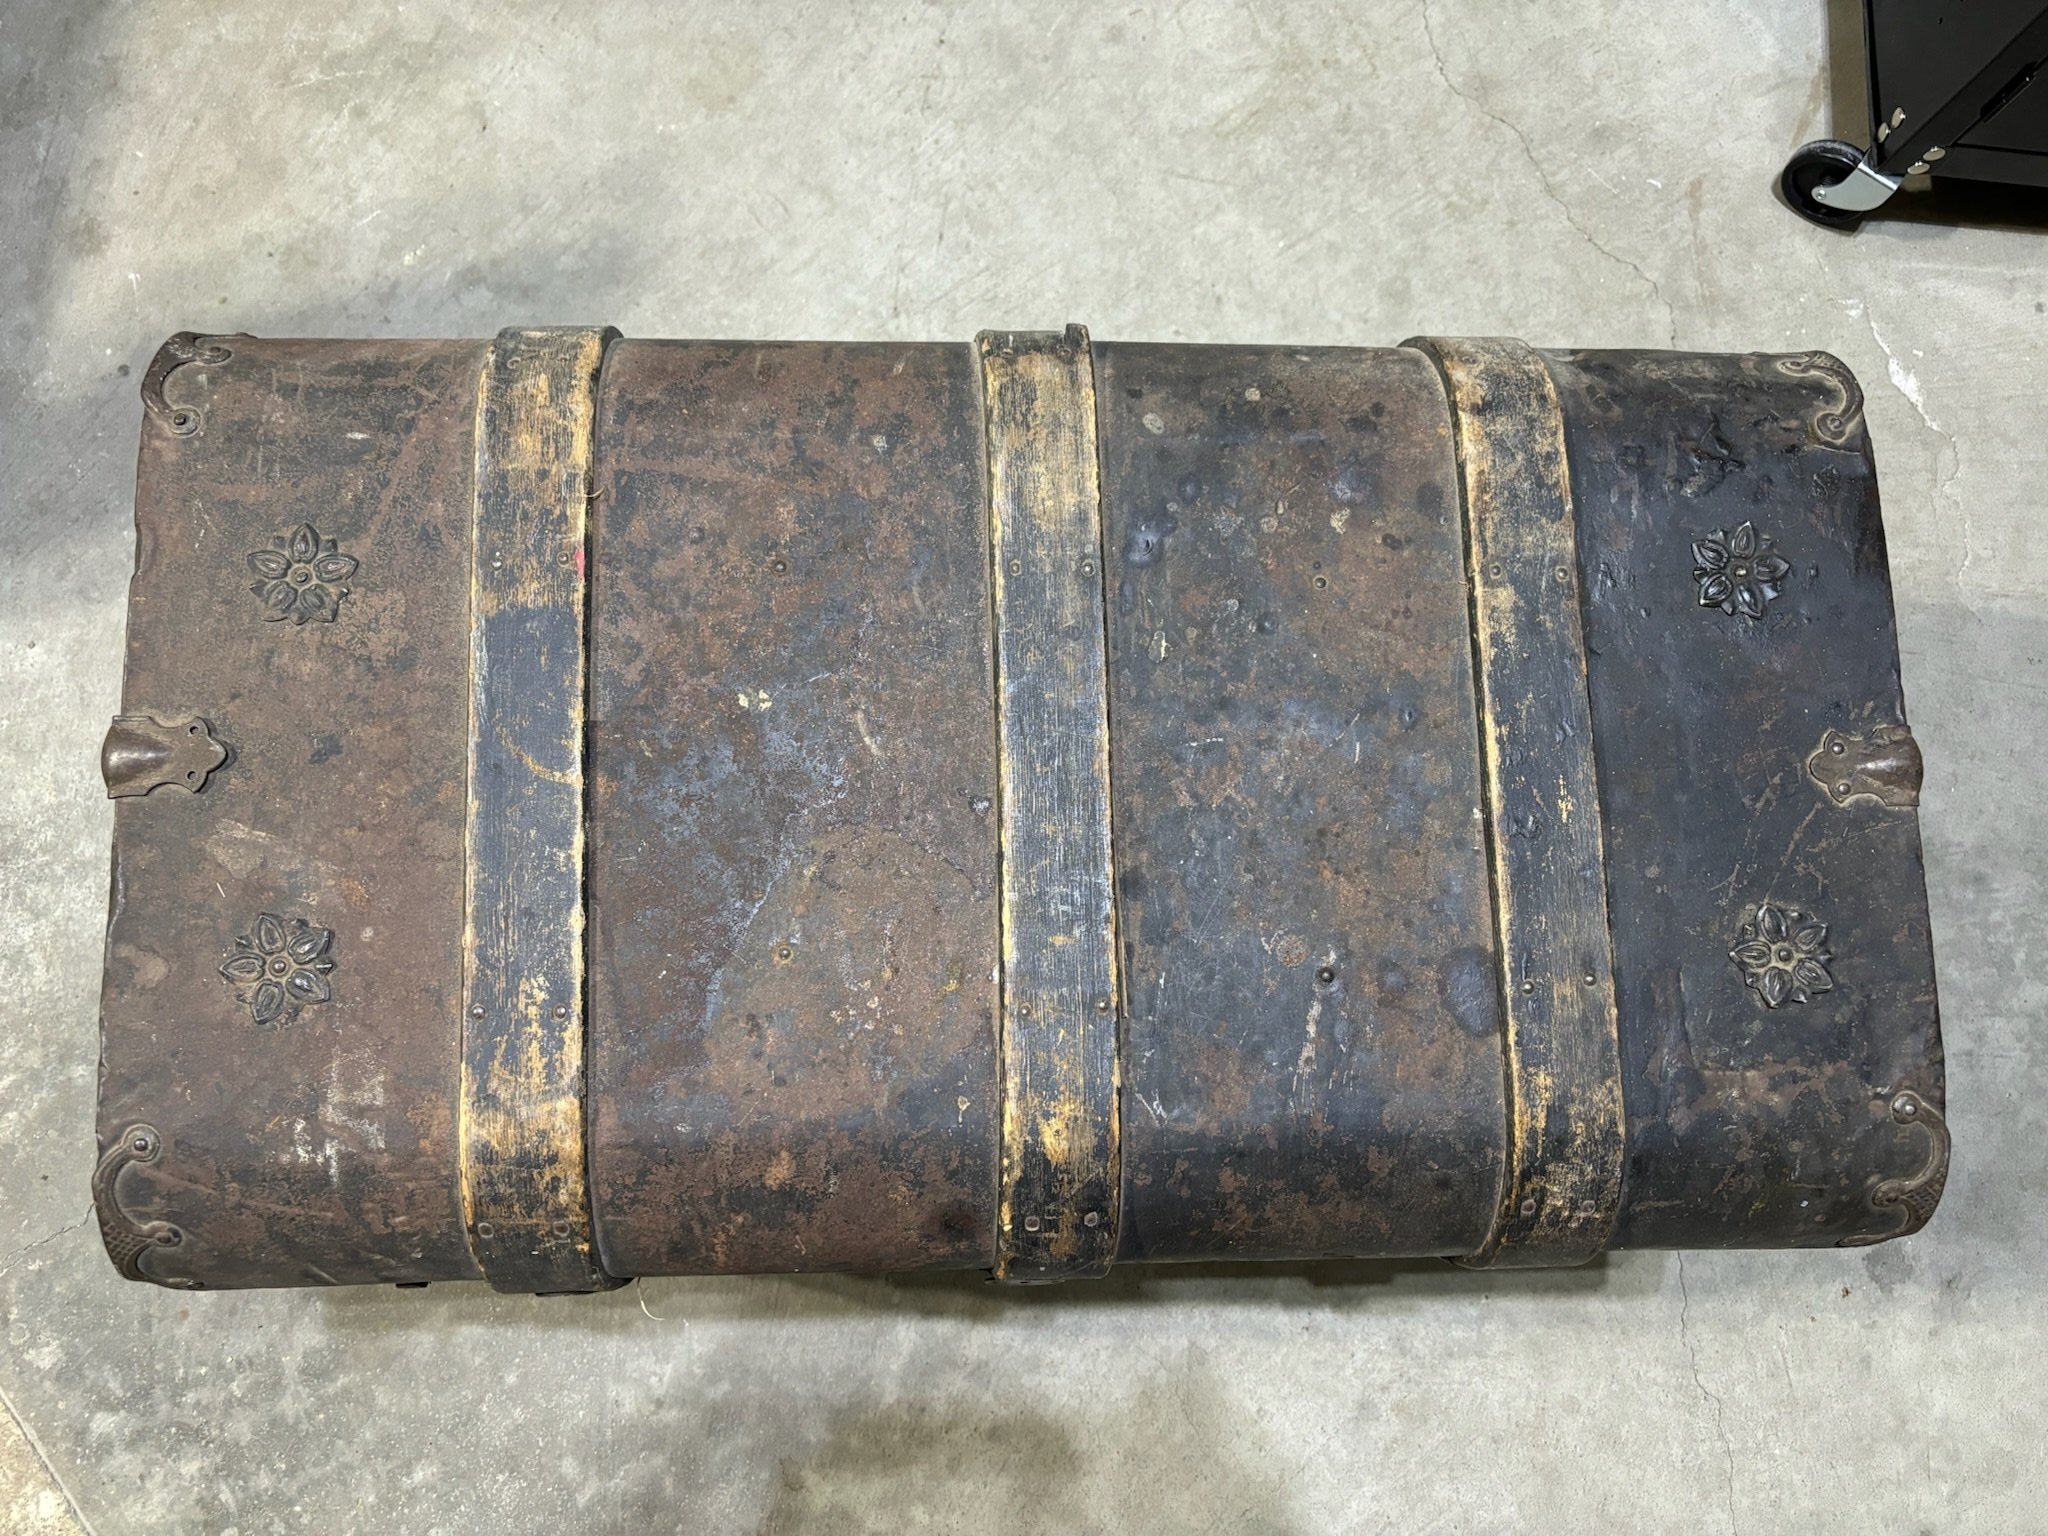
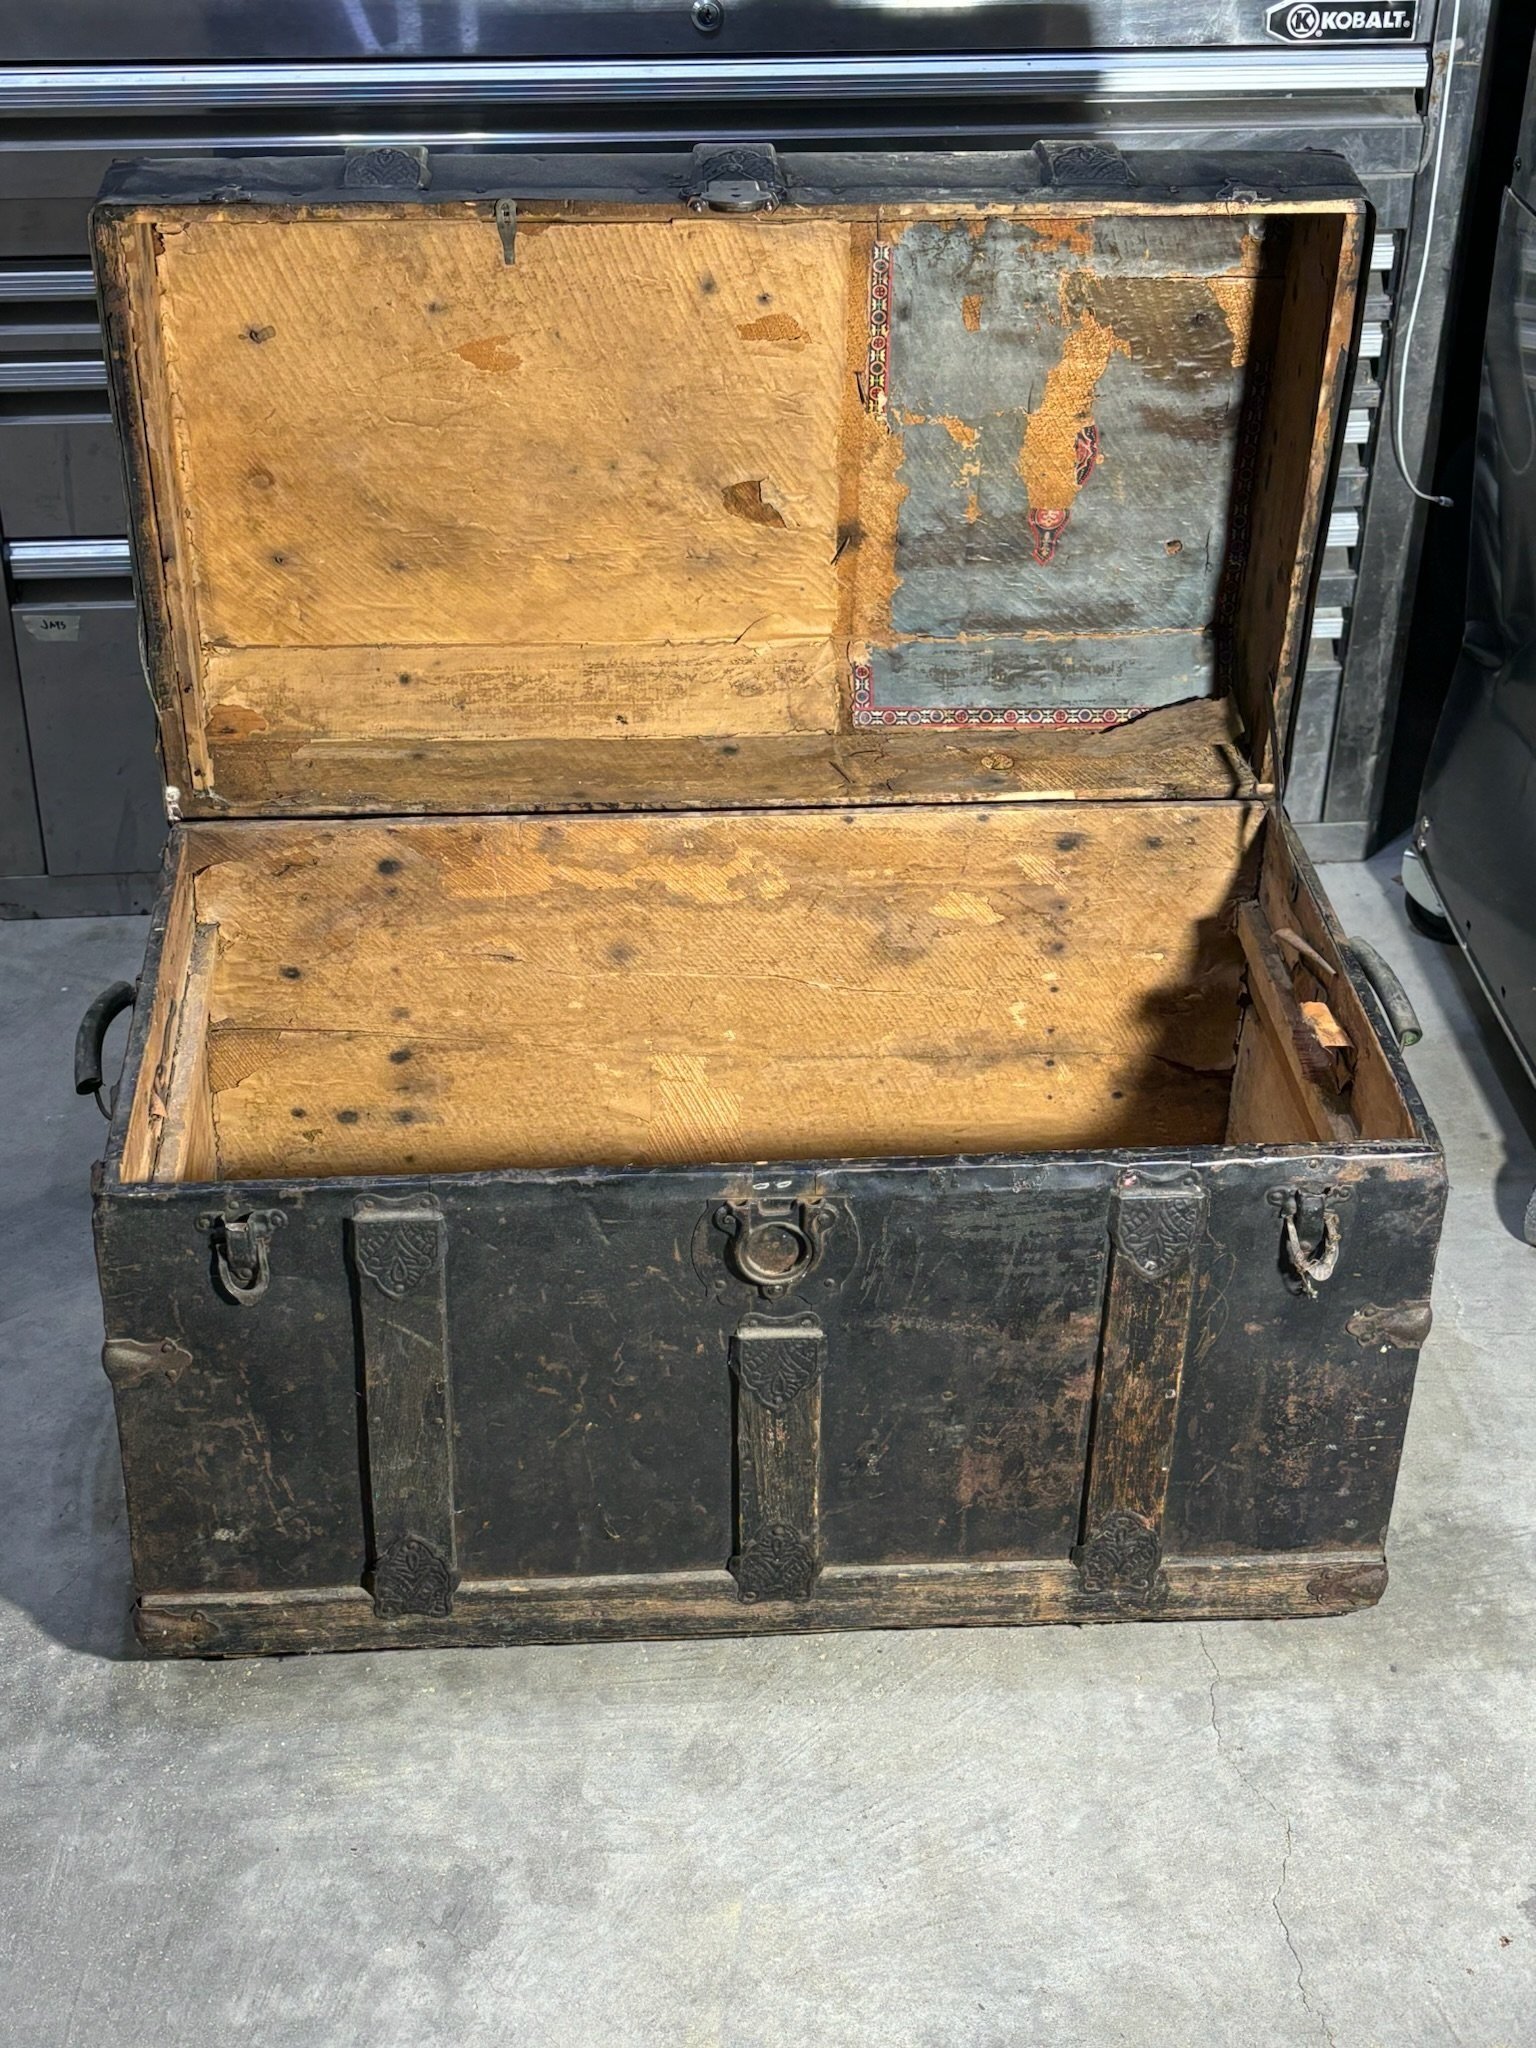
The before was looking a little rough and we knew we would have to battle against some rust and damage, but all of the details were too cute!
Supplies:
Detail Hand Sander
Ultra Cover Spray Paint
Spray Paint Sealant
Enamel paint
Wood Conditioner
Wood Stain
Foam board
Fabric & Lace
Hot Glue
Step-by-step:
The best way to start any project, is by cleaning it. We used disinfectant spray on the exterior, and a vacuum and air compressor to clean out the interior.
Next we used the detail hand sander to remove the finish of the wood on the outside. While prepping the outside, we realized we would feel more confident in the painting process if we used a heavy duty rust stain remover on the exterior.
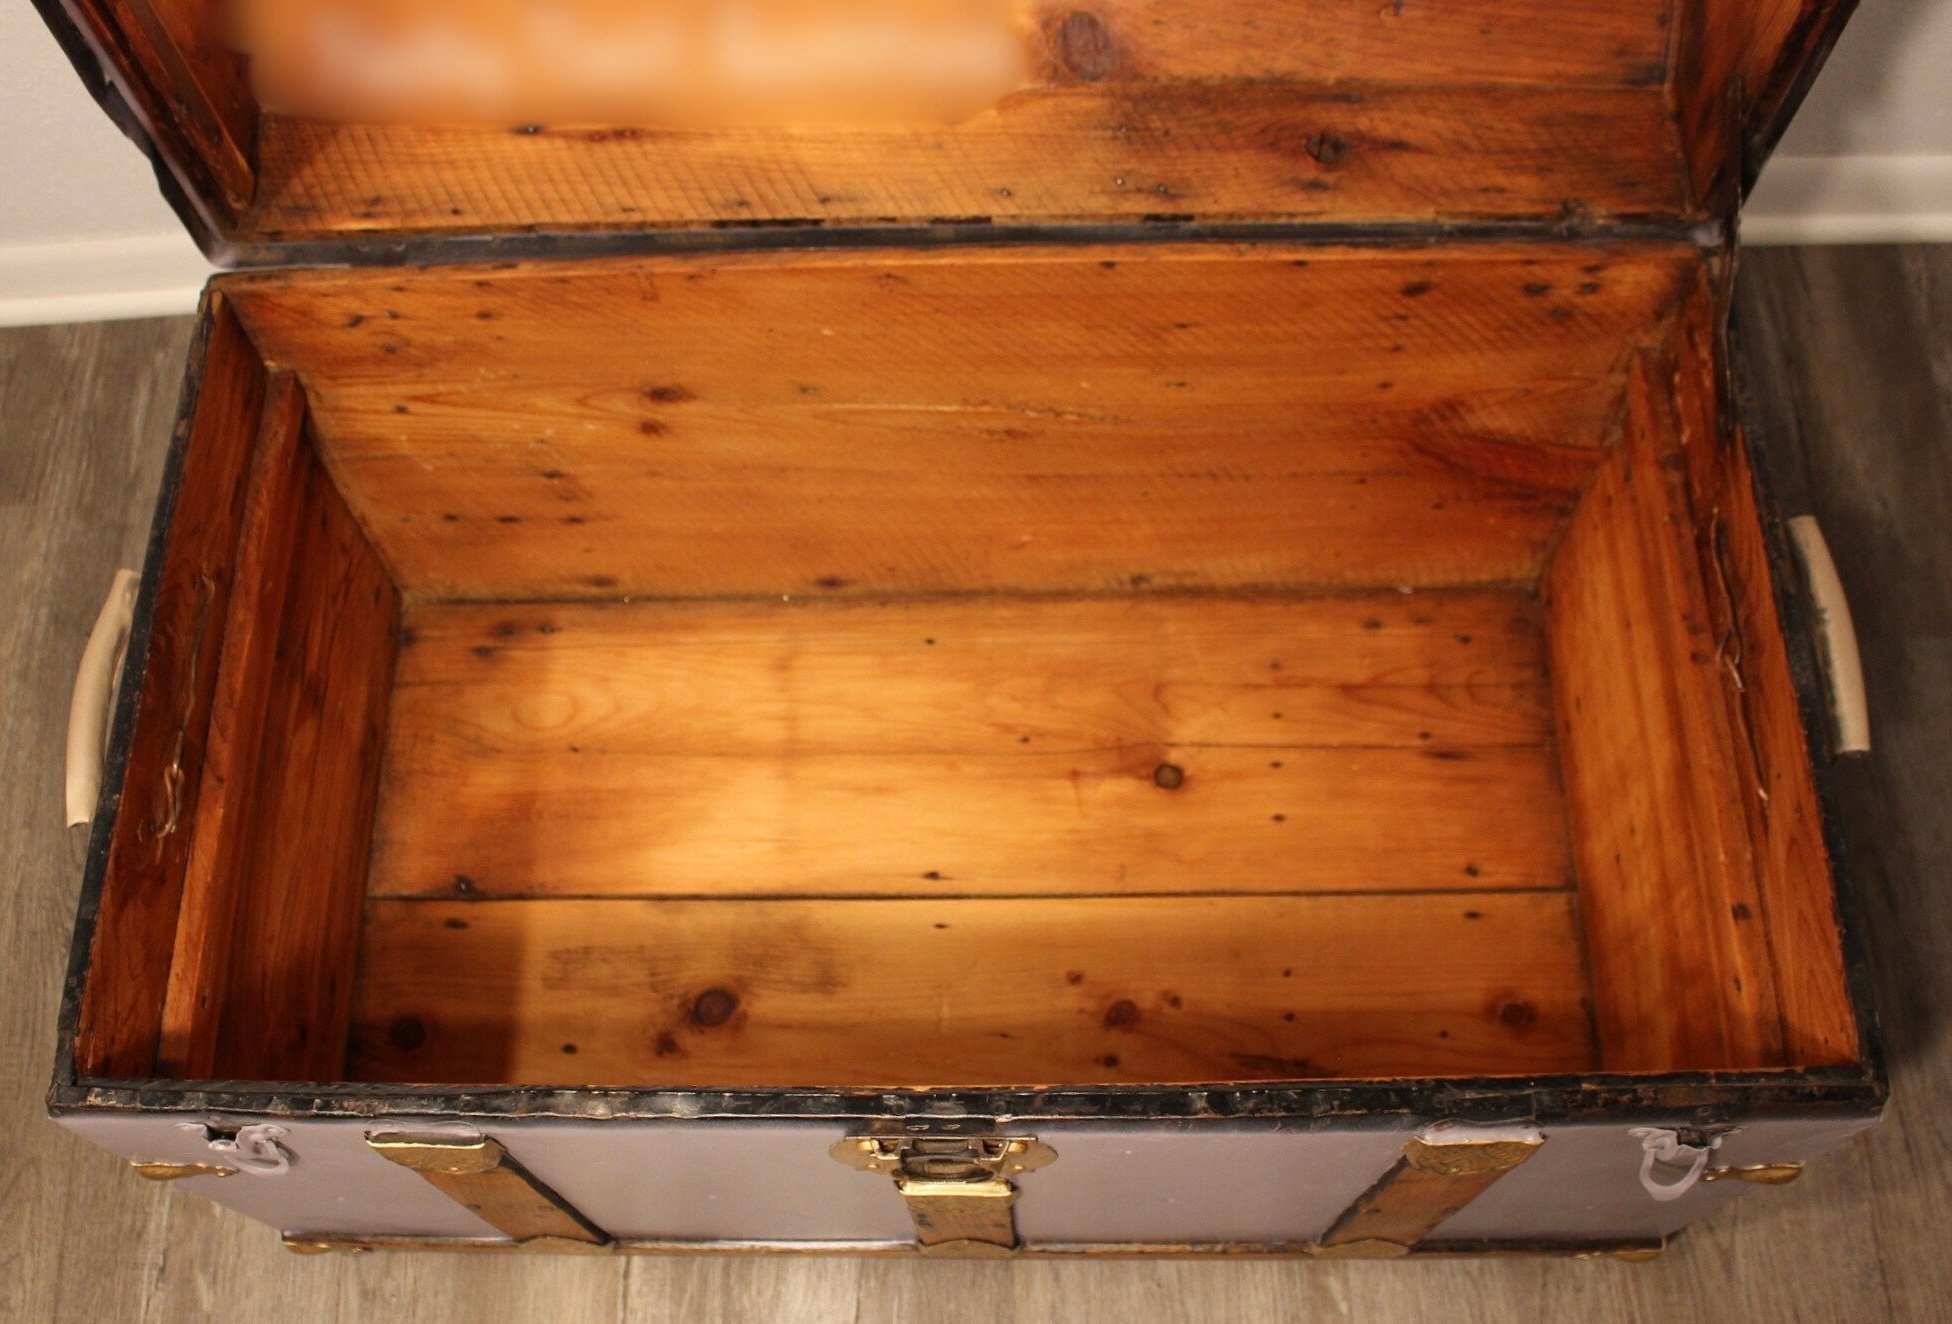
To prep the inside we sprayed water on the leftover wall paper to soften it, then took a chisel and putty knife to scrape it off. We used a few different hand sanders to strip the interior.
After we insured all surfaces of the interior were sanded, we went in with a wood conditioner and polish called Feed-N-Wax by the brand Howard. We used a disposable towel to gently apply the conditioner in even strokes. We thought the warmer finish would compliment the paint color on the outside of the trunk.
Before spray painting, we taped off the metal accents and wooden details to protect them.
Tip: Use a box knife to trim the tape so you can get the perfect edge to the metal accents.
Then we started to spray paint, one layer at a time. We used the ultra cover Rustoleum spray paint in the shade Silver Lilac to closely match the personalized color choice.
This was after the first layer of paint!
We did a few even coats of paint, letting it dry between each layer. Once we were happy with the coverage from the spray paint, we peeled that tape!!
To stain the wood details on the exterior of the trunk we used a penetrating stain by the brand Minwax in the shade Weathered Oak. The warmth from the wood on the interior and exterior, had a great contrast with the cool toned silver lilac paint.
We highly considered keeping the metal dark here, but we are super happy with the turn out of the gold!
To apply the gold enamel paint to the metal detailing, we used a small paint brush to stay neat. The enamel paint we used gave a great glossy finish, and really brought this piece together.
Tip: It took 2 layers for the best effect.
For the memory board on the interior, we needed to cut down the dense foam board to fit. We measured the designated area and used a box knife to cut it down to the measured fit.
Before we could attach it to the trunk we of course had to pretty it up. We measured the fabric to cover the corkboard, and attached it to the trunk using hot glue. Once we had the fabric securely attached, we added a lace trimming to border the memory board.
Tip: Keep in mind while cutting the fabric that you will need extra length and width to neatly go over the edges of the board and attach to the back.
To secure the memory board to the the lid of the trunk we used hot glue and applied pressure.
We for sure didn’t miss the need to cover the handles, we decided to use ribbon and hot glue to secure it.
Tip: Use wide ribbon to avoid overlapping.
As another personal touch to this piece, we hand painted the babies name on the inside of the keepsakes trunk.
Now for the REVEAL!
